Saturday, March 27, 2010

#231_The Ultimate Chocolate Cake

The chocolate cake with
Chocolate Buttercream Frosting

The chocolate cake with
Ganache Frosting

I filled the cake with whipped cream with sugar on this one.


This chocolate cake recipe was adapted from one of
my favorite food site,
the Smitten Kitchen.

Here's the original cake recipe from Smitten Kitchen:

3 ounces fine-quality semisweet chocolate such as Callebaut
1-1/2 cups hot brewed coffee
3 cups sugar
2-1/2 cups all-purpose flour
1-1/2 cups unsweetened cocoa powder (not Dutch process)
2 teaspoons baking soda
3/4 teaspoon baking powder
1-1/4 teaspoons salt
3 large eggs
3/4 cup vegetable oil
1-1/2 cups well-shaken buttermilk
3/4 teaspoon vanilla

For ganache frosting

1 pound fine-quality semisweet chocolate such as Callebaut
1 cup heavy cream
2 tablespoons sugar
2 tablespoons light corn syrup
1/2 stick (1/4 cup) unsalted butter

Special equipment

two 10- by 2-inch round cake pans


Make cake layers:

1) Preheat oven to 300°F.

2) Line bottoms with rounds of wax paper and grease paper.and grease pans.

3) Finely chop chocolate and in a bowl combine with hot coffee. Let mixture stand, stirring occasionally, until chocolate is melted and mixture is smooth.

4) Into a large bowl sift together sugar, flour, cocoa powder, baking soda, baking powder, and salt. In another large bowl with an electric mixer beat eggs until thickened slightly and lemon colored (about 3 minutes with a standing mixer or 5 minutes with a hand-held mixer). Slowly add oil, buttermilk, vanilla, and melted chocolate mixture to eggs, beating until combined well. Add sugar mixture and beat on medium speed until just combined well.

5) Divide batter between pans and bake in middle of oven until a tester inserted in center comes out clean, 1 hour to 1 hour and 10 minutes.

6) Cool layers completely in pans on racks. Run a thin knife around edges of pans and invert layers onto racks. Carefully remove wax paper and cool layers completely. Cake layers may be made 1 day ahead and kept, wrapped well in plastic wrap, at room temperature.

Make frosting:

Finely chop chocolate. In a 1-1/2 to 2 quart saucepan bring cream, sugar, and corn syrup to a boil over moderately low heat, whisking until sugar is dissolved. Remove pan from heat and add chocolate, whisking until chocolate is melted. Cut butter into pieces and add to frosting, whisking until smooth.

Transfer frosting to a bowl and cool, stirring occasionally, until spreadable (depending on chocolate used, it may be necessary to chill frosting to spreadable consistency). I found that stirring this over a bowl of ice water did a great job of cooling it off quickly and evenly.

Spread frosting between cake layers and over top and sides. Cake keeps, covered and chilled, 3 days. Bring cake to room temperature before serving.

Notes from MaMely:
I made some modifications on this recipe because I do not have two 10" round pans, so as you can see I made a double decker using 9x13 cake pans. I also substituted whole milk for the coffee called for in the recipe because I don't use coffee. For the ganache, I used Guittard semi sweet chocolate chips and it worked just fine.
I had made this cake to make different kinds by using different frosting, such as coconut pecan frosting to make German Chocolate Cake; Black Forest Cake; with Ganache Frosting; or with chocolate frosting. Very versatile cake!

Here's a recipe for
Chocolate Buttercream Frosting:
6 oz. unsweetened chocolate
1 stick butter
1/2 cup heavy whipping cream
3 cups confectioners sugar
Melt chocolate and butter over low heat. Stir in cream and mix until smooth. Remove the pan from the heat and beat in the sugar until the frosting holds a stiff shape. Spread on cake.

Recipe for Coconut Pecan Frosting, posts #36 click here and #83 click here.

1 cup evaporated milk
3 egg yolks, slightly beaten
1 cup white sugar
1 stick butter
1 1/2 cups shredded coconut
1 cup chopped pecans
1 cup sifted powdered sugar
1 tsp vanilla extract

1)In a deep pan, or pot, preferably non-stick, combine the milk, egg yolks, sugar and butter. Cook stirring over medium heat until thick, (about 15 minutes or til it reaches the consistency of pudding)
2) Turn down heat to medium low, and add the coconut, pecans, powdered sugar and vanilla. Stir for 2 more minutes. Turn off heat. (it might be a little runny at this point but when you spread it on the cake, the frosting settles quickly)
3) Spread frosting on the cake immediately. (it is easier to spread the frosting on the cake while it is warm).
4) Chill in fridge before slicing.

#230_Maruya or Banana Fritters

Maruya or Banana Fritters...
another popular Filipino snack using Saba bananas.


Saba Bananas a.k.a. cooking bananas
(this is kind of over ripe, but didn't want them to go to waste)

This variety of bananas is used for cooking different kinds of snacks.

Click here to check out a Turon recipe,
which is one snack using
Saba bananas.

Maruya, just like any other fritters, is made with batter then fried.
It is a very common merienda item in the Philippines
and it is pretty easy and also inexpensive to make.


Select ripe, but firm saba bananas and slice them lengthwise or in disks.


The batter should be a little thinner than pancake batter.

Batter for Crispy Maruya:
2/3 cup flour
1/3 cup cornstarch
1 tbsp. baking powder
2/3 cup water

about 4-5 saba bananas, sliced lengthwise or in disks
canola oil for frying
white sugar for dredging

Mix ingredients for the batter, stirring until the mixture is smooth.
Dip slices of bananas in the batter, then fry in hot canola oil.

You can fry them individual slices or in clusters.
For clusters, slice the bananas in disks (crosswise) then dip in the batter.
Fry battered bananas in hot canola oil over medium low heat,
about 2-3 minutes per side or until golden brown.


Drain fried maruyas in paper towel, then toss them in white sugar.


ENJOY!!!

Monday, March 22, 2010

#229_ Another Cake by Melinda

Carrot Cake with Cream Cheese Frosting

Each flower stem is wrapped with plastic wrap
before they are arranged
on the two-tier cake, accented with cute spiky candles.

To view more pictures of Special Occasion Cakes,
visit my face book page by clicking on the link below:
http://www.facebook.com/#!/pages/PinoyAmericanFavoriteRecipes/102145934577?ref=nf

Saturday, March 13, 2010

#228_Pastel de Tres Leches ( Three-Milk Cake)

Pastel de Tres Leches

Pastel de Tres Leches, translated as three-milk cake is a very popular Latin American cake soaked in three different kinds of milk products, hence tres leches (three milk). Some recipes use butter cake, some simply use boxed white cake mix and while there's hundreds of ways to dress this cake up, I will stick to what I have already tried which is nuts and strawberries. Because this cake is already too sweet from the milk, I don't particularly want anymore frosting nor sweet garnishes on it such as whipped cream or caramel.
I first tried this cake last year from an authentic source (click here). I'm glad I did because now I have a recipe based on that authentic piece of cake.

For the cake, I used the tried and true Chiffon Cake recipe #210, click here and it turned out great. I did one in a 9"x13" pan and 5 mini cakes using "one-of-a-kind" molds.


I call these mini cakes because they are bigger than cup cakes and smaller than the smallest size cake pans. Do you want to know what kind of molds I used? It's my secret, so don't tell anybody... they are Tuna Fish cans! Yep! 7.5 oz.tuna fish cans, a bit taller than the regular 5 oz. cans. I love the size because it is perfect for individual servings. I got the idea from a friend, Josie, who uses the cans for making leche flan. There you go, I just revealed a secret!


Mini cakes using tuna cans for molds


Tres Leches Cake in a 9"x13" cake pan

Here's the recipe:
Prepare your pans. If using glass pans, grease the bottom well. If using mini molds, grease bottom and sides well. Baking gurus say don't grease the pans when making chiffon cakes...
I am breaking that rule specially with mini molds or muffin tins because you can't unmold them without breaking them to pieces if the molds aren't greased.

For the Cake (Chiffon Cake recipe #210, click here)
Egg yolk mixture:
2-1/4 cup cake flour, sifted before measuring
3/4 cup white sugar
1 tbsp. baking soda
1/2 tsp salt
1/2 cup canola oil
1/2 cup+2 tbsp orange juice or water
7 egg yolks
2 tbsp. orange zest
1 tsp. vanilla extract
Sift together cake flour, sugar, baking powder and salt in a mixing bowl. Make a well in the center and add the egg yolks, canola oil, orange juice or water, vanilla and orange zest. Mix together with a wire whisk until all ingredients are well bended. Set aside.

Egg White Mixture:

7 egg whites, room temperature
1 tsp. cream of tartar
3/4 cup white sugar
Using a stand mixer, whip egg whites and cream of tartar until foamy. Gradually add the sugar. Continue to whip until sugar is dissolved and whites are glossy and soft peaks forms.

The Cake Batter:
Fold the egg white mixture (in 3 batches) into the egg yolk mixture until both are well blended together. (remember, just fold, do not mix or stir this mixture)

Pour batter into prepared pans and bake in pre-heated 350 degrees oven. Baking time varies
depending on the pans used. I bake the 9"x13" cake for 23 minutes; 18 minutes for the mini cakes. If using mini molds, place the molds in baking sheet then put in the oven.

Making the TRES LECHES
Cool cake for about 5 minutes, then poke holes all over the cake using a skewer or a fork.


Poke holes all over cake for the milk to penetrate.


Mix the 3 milk together
in a bowl

Some recipes that I saw online use a combination of evaporated milk, condensed milk and heavy cream. Some uses fresh milk instead of heavy cream. I guess it doesn't matter as long as there's condensed milk in it.

Pour the milk into the cake making sure it gets into the holes.


After pouring milk into the cake, let it cool completely then cover
and put in the fridge to chill for few hours or overnight.


When ready to serve, pour some more milk on the cake then garnish as you desire.

Notes from MaMely:
1) This chiffon cake recipe looks like it is hard and complicated to make, but it is really not that hard. Unless you give it a try you won't know how easy it is to make it. I know, because it took me a few years before I decided to try making it as I thought it was complicated for me. I'm glad I did give it a try because now, I hardly use cake mixes for this kind of cakes.

2) A blog reader and a cyber friend, Ziggy who is from Cuba, told me she makes this cake a Cuatro Leches, which means 4 kinds of milk. For the fourth kind she uses dulce de leches to top the cake. Sounds delish, I'll have to try that.

Sunday, March 7, 2010

#227_Tupig

Tupig is a very popular street food in Pangasinan
It is mainly made of glutinous rice and freshly shredded coconut.

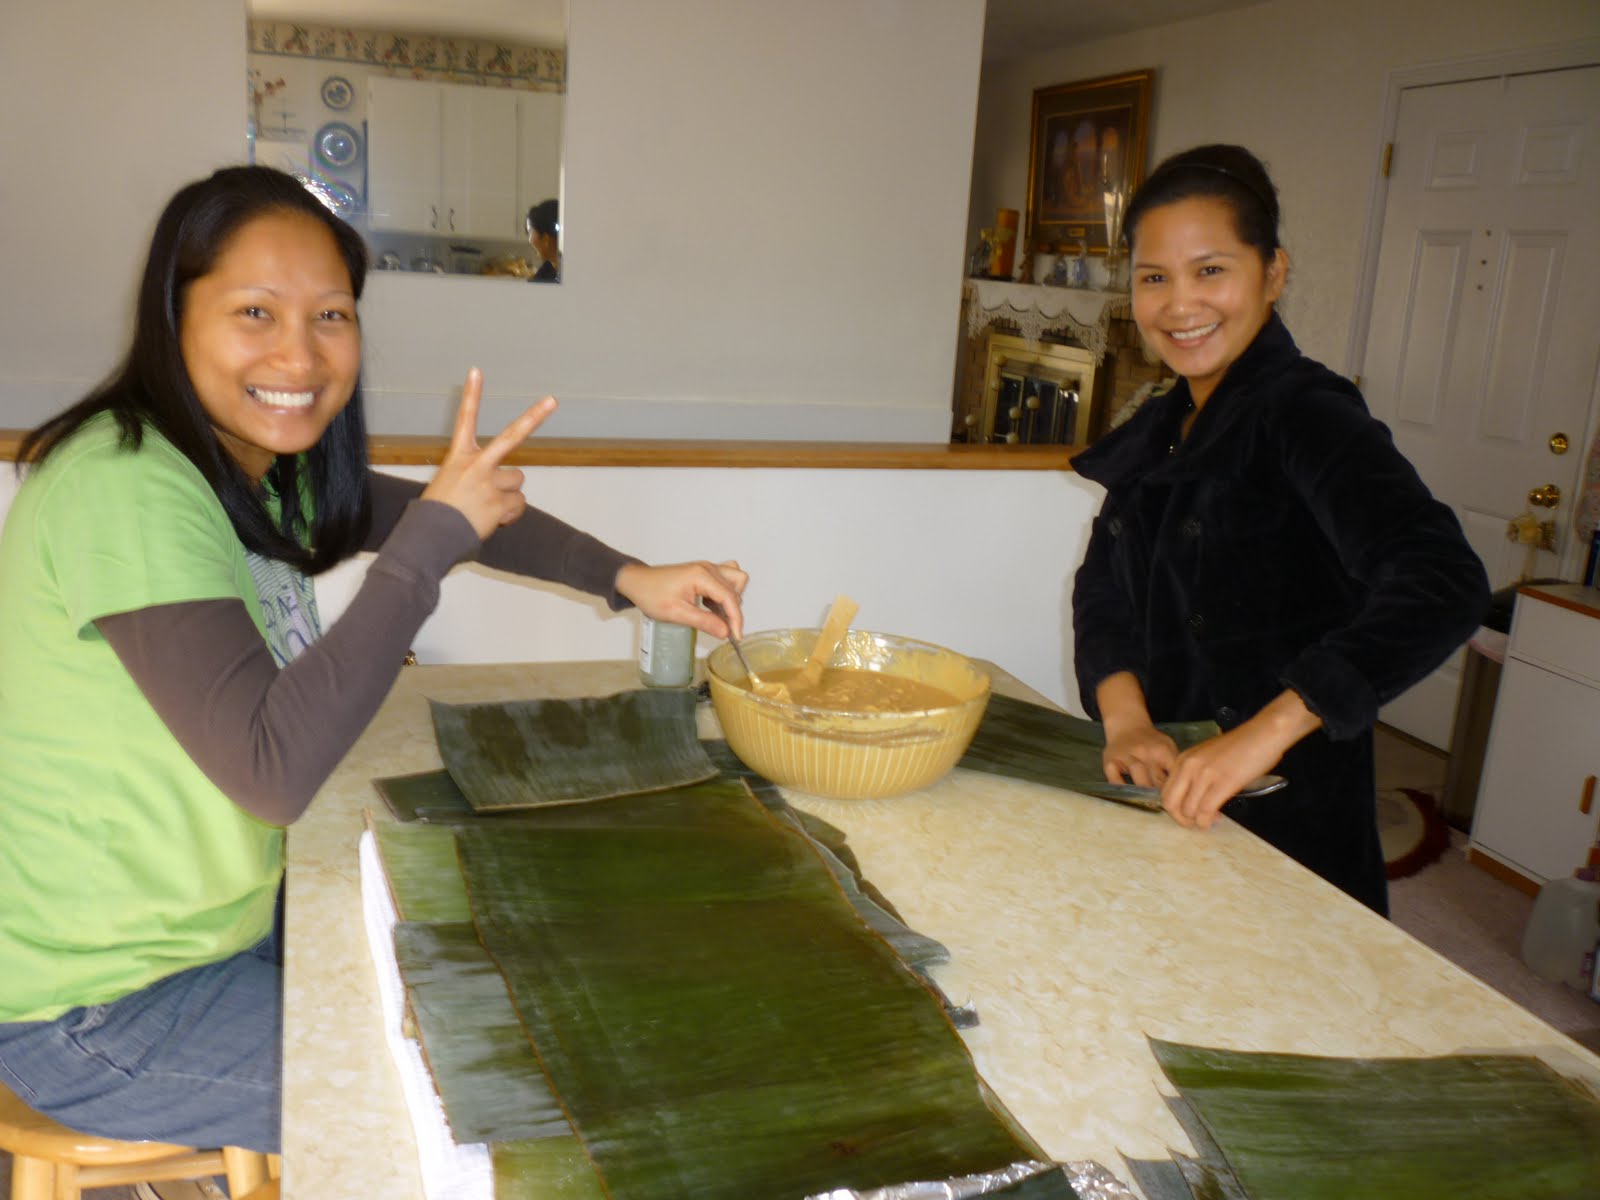
A friend Stella, showed us how to make Tupig from the start, i.e. making the batter, wrapping, then broiling.

Another friend, Nieves, joined us with the tupig-making lesson.

A FB friend, Virginia posted her recipe on my facebook page and with her permission, I'm posting it here.

Virginia Ganzon Rodriguez
Ok, Here is the much anticipated recipe for Tupig, Tenpigs, or a Dozenpigs!

Ingredients:

2 cups young coconut meat (buko kinayod)
1 cup macapuno string
1 plastic bag glutinous rice flour
2 cups brown sugar
2 cans coconut milk
vanilla extract
banana leaves, wilted and wiped clean then wipe with coconut oil or spray with
Pam to prevent sticking

Procedure:

Mix all ingredients together. Mix should not be watery. Add more glutinous rice if consistency is too watery.
Spoon mix on prepared banana leaves. Roll and fold edges. Broil in oven until the banana leaves are charred.

If banana leaves are not available, aluminum foil can be used though it's not going to be as delicious.
February 23 at 6:53pm ·

Virginia Ganzon Rodriguez
Use the top rack and broil. Keep a watchful eye because you don't want to burn them too much. Don't use mochiko brand. Use the plastic bag glutinous rice w/ green label.
February 23 at 9:21pm ·

Saturday, February 27, 2010

#226_Giniling or Picadillo

Giniling or Picadillo

Giniling which literally means ground is a dish made of ground meat. In the Philippines, it is an all time favorite dish to serve specially during fiestas and on special occasions because of the vegetables used such as potatoes, peas, carrots etc., which serve as fillers or extenders, one can can easily double or triple the volume of the dish and therefore can feed an army or the whole neighborhood.
In other countries like Mexico or Cuba they call this dish Picadillo and of course they have their own version of preparing it, but very similar to this Filipino version.

This is one of the dishes that uses tomato base or the holy trinity of Filipino sauteing: garlic, onion and tomatoes. I usually have this frozen and ready to use, click here to check out my entry on tomatoes. If I ran out of my frozen tomatoes, then I'd use the canned whole tomatoes because those are pre-cooked and will cut down my cooking time.

Here's the recipe as dictated to me by my mother when I called her one time and asked her for the recipe. Back home she used the canned peas and fresh carrots.

3 tbsp canola oil
4 cloves garlic, minced
1 medium onion, finely chopped
1 can whole tomatoes, or very ripe fresh tomatoes, chopped
3 lbs ground pork (or ground beef)
2 pieces bay leaves
2 tbsp annatto oil (recipe here)
Salt
6 medium potatoes, diced
freshly cracked pepper
1 bag (1 lb.) frozen mixed vegetables, do not thaw
1 cup raisins
1 medium red bell pepper, sliced long


If you don't have the tomatoes ready, we'll have to start from scratch.

Sauteing the tomatoes:
In a large skillet over medium high heat, heat some
canola oil then saute the garlic until it is slightly browned. Add onions and continue to saute until they are wilted and translucent, then add the chopped tomatoes. Continue to saute until tomatoes are soft. If using fresh tomatoes this takes a little while.

Meat mixture:
Add the ground pork and the bay leaves. Turn down heat to medium and saute really well. This is important procedure because if not sauteed "really well", you'll have that oink, oink taste and won't be very appetizing.

Here's how to saute it really well:
Keep sauteing the meat mixture until meat is no longer pink. Turn down the heat to medium low and continue to saute, stirring occasionally until the meat renders its own juice or fat. Now, there's going to be liquid in the mixture and it needs to be cooked down. (at this point you can transfer this mixture to crock pot)

Season it with salt (about 1 tbsp) and stir in the annatto oil. Put lid on and keep it covered for about about 20 minutes, stirring once in a while.
Turn down the heat a notch keeping lid on and continue to simmer, stirring occasionally, until meat is tender and the liquid is cooked down.

Add the potatoes and the cracked peppers then return the lid on. Turn up the heat to medium and continue to simmer until potatoes are almost tender then add the raisins and frozen vegetables (peas and carrots) and the red bell pepper.
Cook until potatoes are fork tender.
Serve hot over rice.


I usually use the Peas & Carrots combination,
but this is what I had this time which worked good as well.
You can use your favorite vegetable combination.

************
Crock Pot Method

The mixture in a crock pot

After the meat rendered its own juice or fat,
transfer it to a crock pot, add salt and stir in the annato oil
to the mixture,
then mix in the rest of ingredients
and let it cook on low f
or about 6 hours...
....then go shopping


When you come home from shopping,
this is what you'll have!


Enjoy!!

Friday, February 26, 2010

#225_ Lumpiang Bangus (Bangus Egg Rolls)

Fried Bangus Lumpia or Egg Rolls
with home made dipping sauce

Bangus, or milk fish is considered the Philippines national fish
and it is known for its milky flavor, thus milk fish.

Bangus...fried then flaked

A FB friend, Shirley, gave me the idea to make egg rolls with bangus fillings. I've never heard of such a thing before, even though I came from a city where Bangus not only abound but also a city where you can find the best Bangus in the country. (you're welcome to read an article about it here).

Egg Roll Fillings:

For the fillings, I used some boneless bangus which are now available in Filipino and Asian stores, but because they are so expensive I combined some ground pork with the fillings to serve as an extender.


Saute garlic in a little canola oil over medium heat, then add the onions and the ground pork. Saute until the pork is no longer pink. Season with salt or patis (fish sauce) and freshly cracked pepper. Cover and let simmer until meat is tender. Add the cooked and flaked fish then saute for a few minutes.


Turn off the heat then add the carrots, celery, raisins. Mix well.
Drain the mixture in a colander and let it cool completely before wrapping.
To see the steps in wrapping egg rolls, click here.

To avoid sogginess, fried lumpias or egg rolls must
be stacked upright on paper towels to drain the oil.
Serve warm with dipping sauce.

Dipping Sauce Recipe:
1/2 cup water
1/2 cup sugar
1/2 cup vinegar
2 tbsp patis ( fish sauce)
3 cloves garlic, minced
1/8 tsp. chili garlic sauce*
1/3 cup grated carrots

Combine water, sugar and vinegar in a sauce pan. Bring up to a boil over medium heat. Turn the heat down to medium low then let it simmer until the mixture becomes syrupy. Turn off the heat and add the patis (fish sauce), garlic, Chili Garlic Sauce and grated carrots. Stir to blend all ingredients together.
This dipping sauce can be made ahead of time. Place the sauce in a jar then refrigerate until ready to use.

Note from MaMely:

*Chili Garlic Sauce is a very concentrated sauce. If you're not into spicy stuff, start with even less than 1/8 tsp. then add more as you desire.

Thursday, February 25, 2010

Wednesday, February 24, 2010

#223_Boiled Peanuts (Nilagang Mani)

Boiled Peanuts
are healthier snacks than roasted ones.

Although boiled peanuts are my childhood snack, I've never boiled them myself. When I googled to find out how, I found out now only how to boil them but also found out that boiling peanuts is a tradition in the southeastern part of the United States.

It took me 4 hours to boil these! amazing!

Click the link below to check out the steps in boiling raw peanuts:
http://www.wikihow.com/Boil-Green-Peanuts


Tuesday, February 23, 2010

#222_Missisippi Mud Pie

Here's another heavenly dessert that's really easy to make,
but it takes some time to prepare.
Test your patience.


I used 2 flavors of ice cream: French vanilla and Tagalongs Girl Scout cookies ice cream which has a fantastic combination of peanut butter and vanilla with swirls of fudge. Of course you can use any combination of ice cream you want or just use one flavor. This might look scrumptious but very forgiving kind of dessert.

Procedure:
1) Soften the ice cream in the fridge for about 3o minutes.
2) Lay a piece of plastic wrap or aluminum foil into the bowl allowing excess plastic to overhang around the sides of bowl.
3) If using 2 flavors of ice cream, spoon the first flavor of softened ice cream halfway into the bowl then freeze for about 2 hours, then fill the rest of the bowl with your second flavor leaving a room for crust, about 1/4 of an inch.
4) Freeze for another 2 hours.


In a food processor, crush about 15 pieces Oreo Chocolate cookies with 1/2 stick melted butter.


Press the cookie crumbs on top of the frozen ice cream,
then freeze again for at least another 5 hours or over night.


When ready to serve, take it out of the freezer and dip the
bottom of bowl in warm water or run warm water from the faucet
for a few seconds
so the ice cream will easily slide out.


Invert the ice cream onto a plate with a pool of chocolate fudge.
Peel off the plastic wrap.
Drizzle some hot fudge on top and sprinkle with chopped nuts.

You can use home made hot fudge recipe below or just simply use store-bought kind.

Here's the recipe for the home made
Chocolate Hot Fudge:
1 cup powder sugar
1 cup Semi sweet chocolate chip morsels
1/2 stick butter, cut up
1/4 cup heavy whipping cream
2 tbsp corn syrup
1 tsp vanilla extract
1 cup chopped nuts, divided
whipped cream, optional

1) heat sugar, chocolate morsels, butter, cream, and corn syrup in a small heavy-duty saucepan over low heat, stirring constantly, until butter is melted and mixture is smooth.
2) remove from heat and stir in vanilla extract.
3) cool sightly until warm.
4) drizzle over ice cream

ENJOY!!